How to Direct LED Shoots Without Costly Surprises
Learn how to direct LED shoots with practical camera, lighting, screen-content, and crew workflows that keep polished footage on schedule every time.
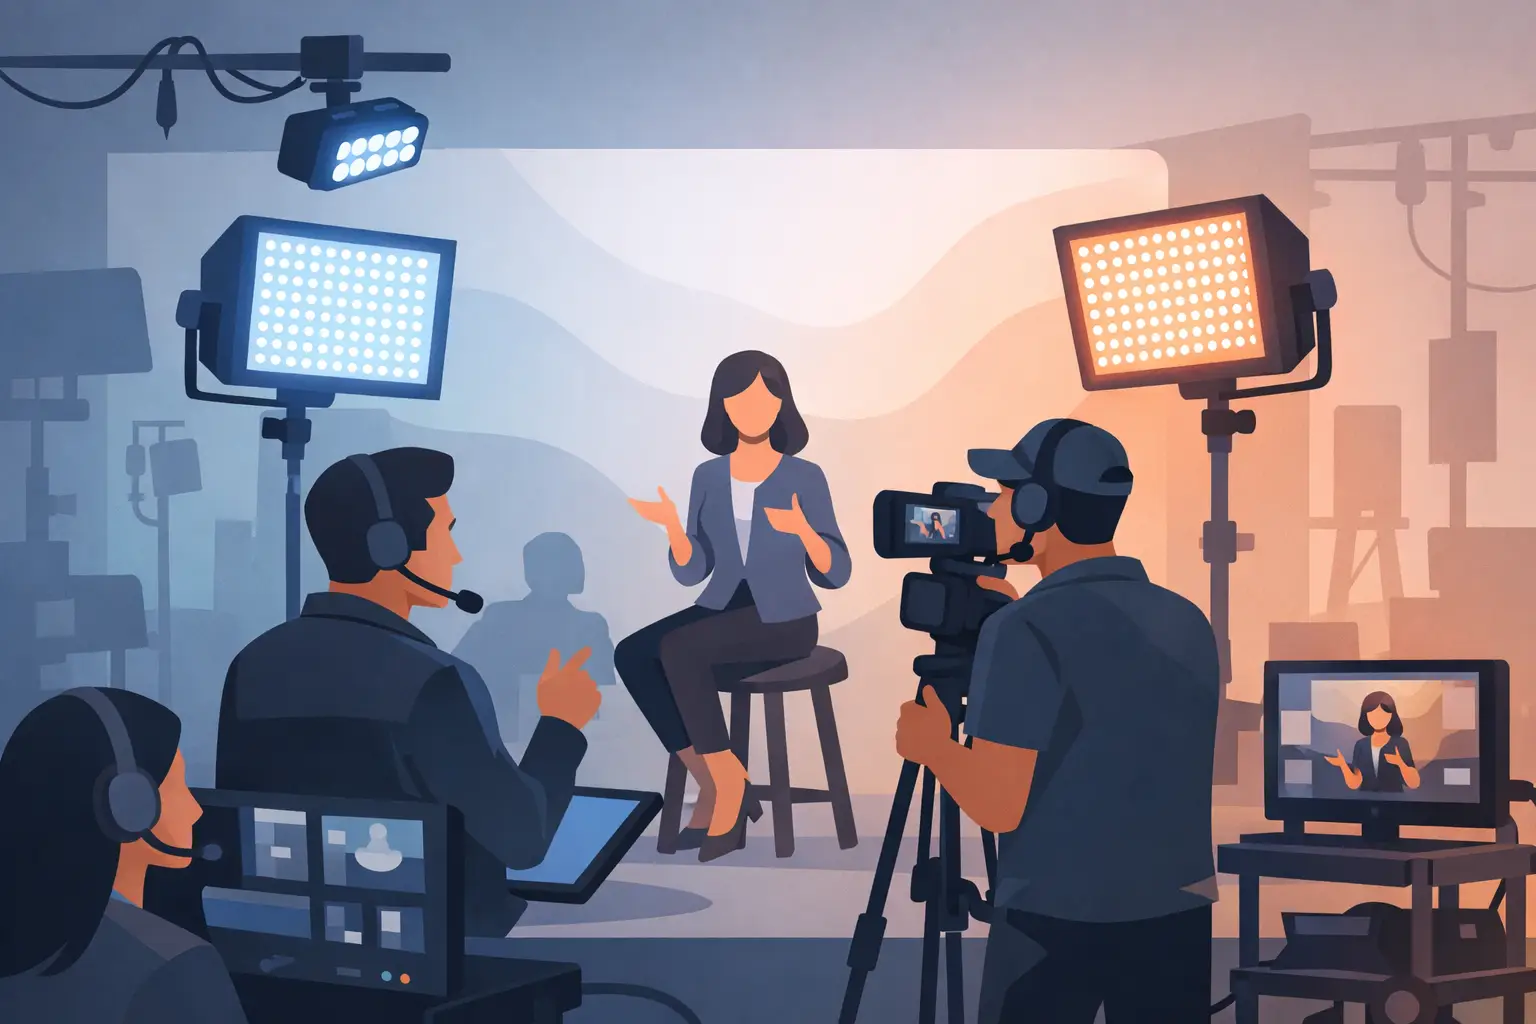
The LED wall is not a backdrop you add at the end. It is a live part of the frame, the lighting plan, the performer’s eyeline, and the schedule. That is why learning how to direct LED shoots starts before the talent arrives. A strong result comes from controlling what the camera sees, what the screen emits, and what your subject can physically react to in the same moment.
For a founder recording thought-leadership clips, this may mean moving through branded environments without leaving the studio. For a commercial crew, it can mean building multiple locations in one production day. In both cases, direction is what makes the LED environment feel intentional instead of like a large television behind the talent.
Start With the Final Frame, Not the LED Wall
Before selecting a background, decide what the audience needs to notice first. Is the product the hero? Is the presenter delivering a clear message? Is the location meant to create scale, credibility, or mood? The answer determines how much visual activity the screen can carry.
A common mistake is choosing a beautiful, detailed plate that competes with the person on camera. A cityscape full of moving signs may look impressive on the wall, yet it can make a speaker feel visually small and distract from a short-form message. For Reels, clean graphic depth, controlled motion, and space around the subject usually perform better than a visually busy scene.
Build each setup around a simple frame brief: camera position, lens feel, talent position, intended movement, screen content, and key message. This gives the director, camera operator, lighting team, playback operator, and client one shared reference. It also prevents the screen from becoming a last-minute design decision.
Design the Screen Content for Camera
Content that looks sharp on a laptop can fail once photographed on an LED wall. Fine lines, small type, high-frequency textures, and tight patterns can create moire or shimmer. Large type, clear graphic shapes, and purposeful negative space are more reliable.
Avoid placing logos or key text directly behind a moving head. Keep critical on-screen elements within a safe zone, then block the talent around them. If a speaker needs to point at a statistic or product visual, rehearse the gesture with the actual screen content running. A gesture that works in a rehearsal room can miss its mark by a foot when the final camera angle changes.
Motion needs the same discipline. Slow, controlled movement can add life to a static frame. Fast animations, rapid cuts, or aggressive particle effects often pull attention from the message and can introduce visible artifacts. If the content is intended for vertical edits, create vertical-safe compositions from the start instead of forcing a horizontal background into a 9:16 crop later.
Lock Camera Settings Before You Light
LED shoots require the camera and wall to work together. If they do not, you may see scan lines, flicker, banding, or uneven brightness that was not obvious to the naked eye. The camera operator should test the planned frame rate and shutter settings against the wall before the shoot begins.
There is no single setting that solves every stage. Wall refresh rate, camera model, shutter angle or shutter speed, playback source, and frame rate all affect the result. A 24 fps cinematic setup and a 30 fps social-content setup may need different tests. The practical rule is simple: test the exact camera, lens, recording format, and screen content you plan to use. Do not assume settings from a previous studio will transfer perfectly.
Shoot a short test clip, not just a still frame. Review it at full size for flicker, scan patterns, moire, and strange color shifts. Check the footage while talent moves through the shot, because the problem may only appear when the camera pans or when the subject crosses a high-detail section of the wall.
If the screen needs to run bright for a daylight scene, the subject may need more light to maintain separation. If the screen is dimmed for a night scene, you may need to reshape the key light so the subject still feels naturally connected to the environment. Exposure is a relationship, not a slider.
Direct Lighting as Part of the Environment
The LED wall produces real light, which is one of its biggest advantages. A sunset image can create warm edge light. A cool office environment can motivate a cleaner, more corporate look. But screen light alone rarely gives enough control for polished commercial footage.
Start by deciding what the LED should do: provide ambient color, act as a visible background, create reflections, or motivate the direction of the key light. Then add fixtures that shape the face and preserve texture in the subject’s wardrobe. This keeps talent clear and flattering while the wall remains believable.
Watch for color contamination, especially with saturated red, blue, and green backgrounds. A vivid screen can spill onto skin, white clothing, and glossy products. Sometimes that spill supports the scene. Often it makes skin tones harder to grade and makes product color less accurate. Flagging, distance from the wall, and a more restrained background palette can solve the issue faster than trying to fix it in post.
A mirror floor increases the visual scale of an LED setup, but it doubles the need for discipline. Every stand, cable, light source, and crew member can become part of the composition. Frame the reflection deliberately. If it does not add depth, reduce it with camera angle, wardrobe choices, or controlled lighting rather than leaving it as visual noise.
Block Talent for Depth and Believable Eyelines
The easiest way to make an LED shoot feel flat is to place talent too close to the wall. Give the subject enough distance to create separation, manage spill, and let the lens produce natural depth. The exact distance depends on the lens, the desired shot size, and available stage space, but it should be decided during the camera test rather than improvised during takes.
Direct performers to interact with the environment only when the environment supports the action. A speaker can confidently walk into a graphic branded world, pause beside an on-screen chart, or turn toward a virtual audience. They should not mime reactions to every moving element behind them. The direction needs to serve the message first.
Eyelines matter. If the wall shows a horizon, doorway, or virtual product, tell talent precisely where to look and for how long. Mark positions on the floor for starts, stops, and turns. This is especially useful when recording several takes for social edits, because consistent blocking makes it easier to cut between angles without visible jumps.
For interviews and presentation videos, keep movement efficient. One strong seated or standing composition, one alternate angle, and a few planned motion beats can generate a large amount of usable content. More movement is not automatically more premium. It is only useful when it creates a better edit.
Run the Shoot Like a Playback-Driven Production
An LED shoot moves quickly when every department knows who owns changes. The director calls performance and framing. The camera team protects exposure and composition. The playback operator controls the wall content. Lighting adjusts the subject-to-screen relationship. The client or producer approves the message and brand details.
Without that structure, small requests become expensive delays: change the background, move the logo, brighten the wall, shift the talent, adjust the camera, then repeat. Create a sequence for each setup: load the scene, confirm playback, set exposure, light the subject, rehearse blocking, record a technical test, then shoot performance takes. Once a setup is approved, capture every planned variation before moving on.
For high-volume content days, organize the run of show by visual world rather than by script order. Record all clips that use the same environment, lighting position, and camera setup together. The presenter can change jackets, prompts, or message topics while the technical setup stays locked. That is how a four-hour session can produce enough material for weeks of posts without turning into a rushed assembly line.
Build Time for Controlled Changes
The LED wall makes fast scene changes possible, but not every change is free. A new environment may require a new light balance, different camera exposure, revised blocking, or adjusted wardrobe. Treat major screen changes as new setups, even when the wall content loads in seconds.
Keep a short visual approval process. Confirm the background, framing, brand placement, and color direction on a calibrated monitor before recording the full set of takes. It is faster to solve a logo position or skin-tone problem in the studio than after editing has started.
Plan for the Edit While You Direct
A shoot can look excellent in the room and still become difficult to edit if coverage was not planned. Capture clean starts and finishes. Leave a beat before and after the main line. Record alternate hooks, shorter calls to action, and a few silent reaction or transition moments. These small choices give editors room to create platform-ready cuts without forcing awkward trims.
For branded content, shoot a clean plate of the LED scene without talent. Capture a few seconds of every background, including animated versions. This gives post-production flexibility for text overlays, transitions, retiming, and repairs.
At PROS.CRTV, a production-ready LED studio setup makes this workflow practical: prepare the visual environments, record multiple formats in one session, and move directly into short-form edits built for fast publishing. The speed comes from preparation, not from cutting corners.
A well-directed LED shoot should leave your team with more than attractive footage. It should leave you with controlled options: clean hero shots, purposeful movement, reusable branded scenes, and enough edit coverage to publish with confidence while the message is still timely.
Ready to shoot this?
Bring the brief to the stage — LED wall, mirror floor and a crew that turns ideas like this into finished content — same day on selected packages.
Book the studio